Saturday, April 23, 2016

Fairy Jars

It has been forever and a day since I posted. I have not been doing much consistently in the crafting realm, so have not had any entries.

I came across this video a few months ago and was determined to do this craft with my 7 year-old. So, today (my birthday and a ped day for her) we had a "Mommy & Me Day" and the craft we had planned was fairy jars.

I took out one of my Cricut machines and got my Tinkerbell & Friends cartridge out. They have these beautiful silhouettes when you use the filigree setting.

Here was the first step - doing the tissue paper layer and adding the silhouette to the interior of my jars. You will note that there are berries, flowers and pine cones waiting. The pine cones were glued & glittered by my daughter (she was so proud!).


 Then it was a matter of putting all the embellishments on the rim of the jars.
So simple to do and so beautiful when lit up at night. They have battery-operated flameless "candles" in them. They were so much fun to do (the one below is for my younger daughter).
When I posted the Tinkerbell one on Facebook, a friend of mine asked if I could do another one immediately. So here is the other one I did:
I am already thinking of the things we can do for Halloween and Christmas! I think I have found a new favorite craft!

Sunday, July 12, 2015

Back to My Roots

Today I actually did some scrapbook layouts! I haven't done any in a while, so I will admit that I was a bit nervous that I might not have any ideas or would just sit there staring at my photos completely frozen. Well, I pulled out some pictures of my youngest from last year when we were outside blowing bubbles and things just happened. I used the Bo Bunny line Forever Young which has such beautiful bright colors and it all came together easily. Here is the double layout:
I matted each picture with some black cardstock so that they stood out and then used 2 of the papers from the Forever Young collection. I then added some Thickers for the title and year. Last, I added some pearl dots to carry out the bubble theme. Did I mention that I used a Memento black ink pad to edge the papers with all the circles? I like to edge patterned papers so that they have a defined edge. Did you see that I even used the name of the papers under one of the pictures? Talk about using every part of the paper! This layout just makes me smile :)

I then decided to use the backside of one of the pages to do one last layout of my little one:
This again, used only papers from the Forever Young collection from Bo Bunny. Since I had the full kit, the letters are also from the same line. I liked the idea of using the colored chevron on top of the black version. This page has a lot of movement, so I wanted to keep it simple. Love how it turned out!

This week I had a colleague at work ask me to make something for a christening she was attending today and this is what I made:
I didn't want to use traditional "baby" colors. I took a bit of a risk with my color palette and my colleague loved it. Phew!

It has been quite a crafty week :)

Friday, July 3, 2015

A Mixed Media Canvas

I have not posted in quite some time! I have also not been crafting much lately (so many things going on!). Here is a canvas I did for a mixed media swap:
I started by putting down color using Gelatos. Then I printed up some flower images and glued them down. I then did the ladybugs using paint and nail polish. I glued rhinestones on for their eyes. I used glass bead gel on the sun for more texture. I used white gesso and a diamond patterned stamp to add more layers and did some dots of color with acrylics. Buttons and rhinestones in the flower centers, the word "Grow!" and then a border of washi tape to finish off the canvas. 

Since the swap was spring themed, I think this passed the test :)

Thursday, April 2, 2015

My New Obsession

Growing up I used to have pen pals whom I wrote to regularly. They tended to be people I met on vacation in Florida. Throughout high school I wrote faithfully. Part of the fun was decorating the envelopes with all kinds of stickers. My friends always knew when it was a letter from me.

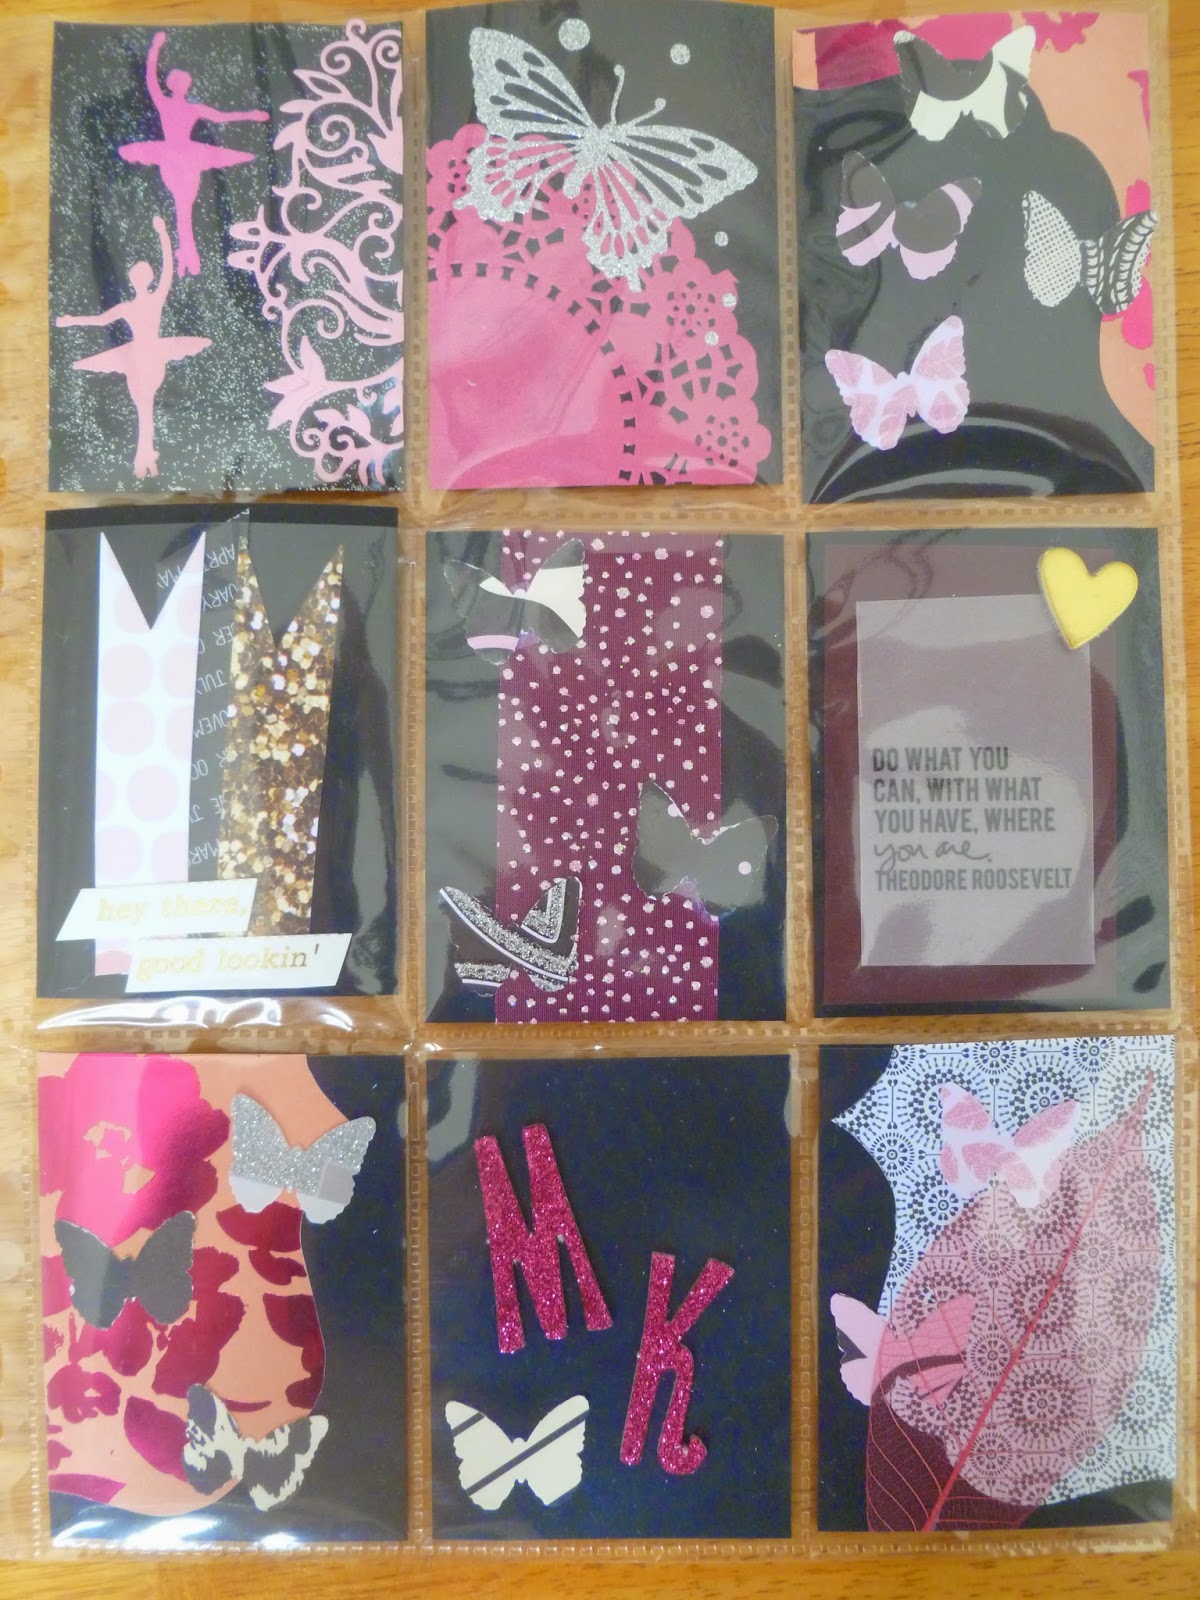
Here I am years later when everyone writes via e-mail and social media. Every once in a while I think about how much I loved just writing a letter and then receiving the reply in the mail. Now there is a new thing that lots of crafters are enjoying: Pocket Letter Pals! It combines our love of crafting with writing letters. Here is the concept that started with Janette Lane: put together a page with inserts to swap with someone else. You can add little gifts in the pockets or not - depends on the expectations of the swappers (something to discuss ahead of time). The most important insert is the letter because this is to get to know someone else. You can decide to do one swap or you can decide to continue and be pen pals. I have done 2 and sent them out:


For the first one we decided to just do what we felt like doing. For the second we decided on a Halloween theme because we both love Halloween. I had fun putting these together, but have to admit that I was nervous about sending them because I only had a few goodies in them and they are not as elaborate as some of the things I have seen people post.


I also received my very first one in the mail from someone in England. We have decided to continue writing to each other :)
So pretty! And there were some nice goodies included which I will definitely use. I still have 3 other people I promised to swap with, so here is the next one that is about to go out:
I was feeling like spring, so went lighter than is usual for me, but still is very me. I tend to be more simplistic with my creations, so I hope that's okay with my swappers.

The size is nice (it's a regular sheet that you would store baseball cards in), so I can keep everything I receive in a binder. I look forward to continuing to swap with people and creating more pages while getting to know new people around the world. I feel like that kid who loved writing to pen pals all over again!


Thursday, February 19, 2015

Week 5 of the DLP

Week 5 of the DLP is now done! It took me a while...The prompt from Art to the 5th was this: 

Art Challenge:  Under Paper (paper on your work table that gets all inky while you work)
Journal Prompt:  What Lies Beneath?

I thought this would be super easy, but then realized that I am not really that messy nor do I really use any kind of under paper. I decided to use some paper towels I use to blot my ink sprays with as well as the parchment paper that I put under the pages to keep from spreading to others. Here is what I started with (along with acrylic paint and gesso in the middle of the pages:
And then...nothing! I did not know what I wanted to do. So I walked away from it (for 2 weeks, might I add). When I finally came back to it this week, I started with a layer of gesso mixed with Primary Elements powder to give it a green hue:
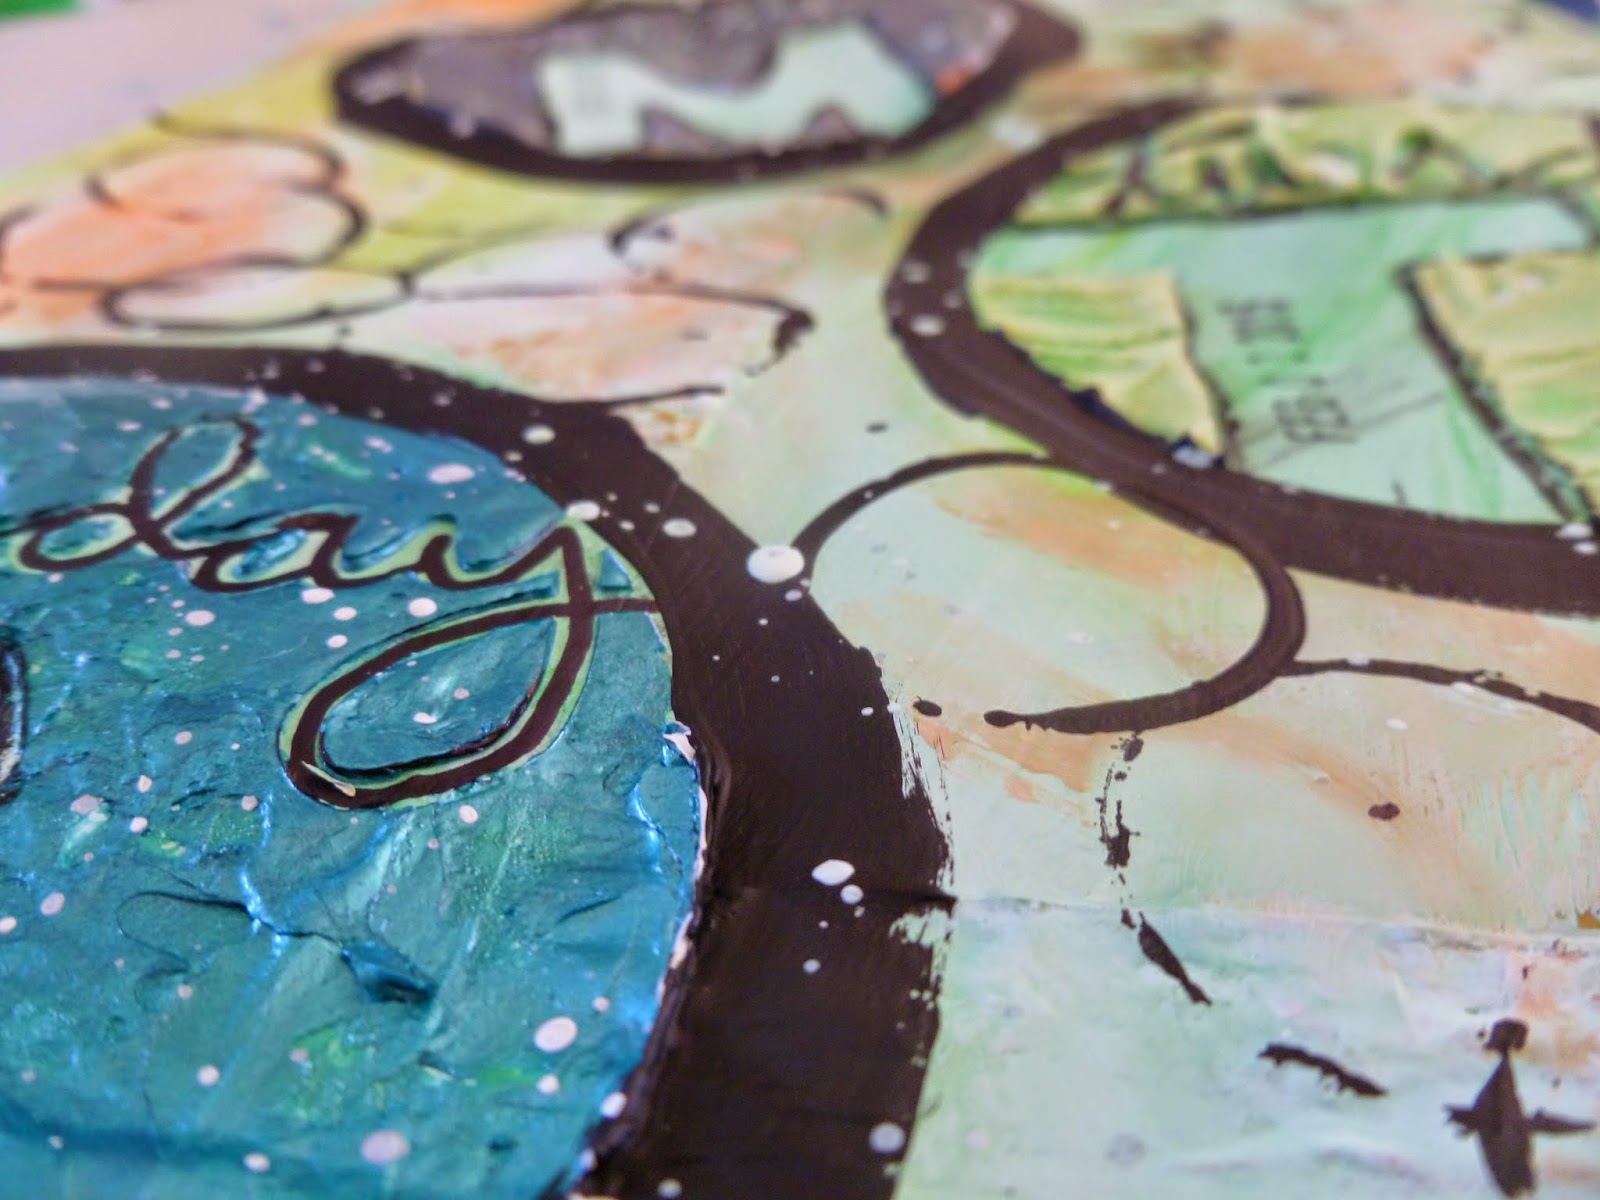
I liked that the papers underneath gave it texture. Then I decided that I was just going to play with textures and focus only on the days of the week. Here is a mix of modeling paste, modeling cream, stucco, acrylic paints, gesso (black and white) and marker. I also stamped the dates:
I wasn't completely happy with it because it seemed to feel "weak" to me. Then I realized that I needed a border to help balance out the larger circles. I also randomly picked some of the stamped circles to thicken with marker (the "stamping" was done using caps to my paints dipped in black gesso):
Now this is more me - a bit bolder. I didn't want to use any quotes or specific focus. I just wanted to play and this is what it got me and I am fine with it! Here are some shots that show a bit of the texture:

Until next time!

Sunday, February 1, 2015

Week 4 of DLP 2015

I was lucky enough to have a day of crafting with friends yesterday and decided it was time to attack the Week 4 prompt from Art to the 5th Academy for the Documented Life Project 2015. The art challenge: Writing. The journal prompt: Words with Friends. I had an idea straight away - I have 3 friends that I have met through crafting (and one of them also from singing) and they are my nearest and dearest because they are the ones I go to when things happen (good and bad) and I wanted the page to focus on them.

I started with Dylusions sprays and gesso:
Once I was happy with how the colors looked, I cut out an image that I found online that was perfect for this page. The 4 clasped hands was perfect because of this close-knit foursome of friends: 
Did you see the quote at the center? "The only way to have friends is to be one" - Ralph Waldo Emerson. I thought that was totally appropriate for us!

Then I decided that because the picture was a bit stark against the colors, that it needed a strong border. So I went to my stash of Washi tape and found a fun one to outline everything:
Now for the part that really personalized it - I went onto Facebook and found images of me and my friends (Karin, Carla and Linda) and printed them out in black and white. I used heavy gloss gel to glue them to some plastic packaging I had, cut them into shapes and then matted them with patterned scrapbook paper (I was channeling Carla a bit because of the choice of purple). I then outlined the pictures in black marker and dotted the matte with white gesso. I free-handed all the "heartbeat" lines for the title ("My friends are my lifeline") as well as the break-up of the days of the week. I then outlined everything that was black in white using a Signo uni-ball pen and here is the pièce de résistance (the goofy one at the top left is me - lol):
So this is my homage to the friends who have gone through a lot of craziness with me over the past few years and I would not trade them for the world! 

Karin, Carla and Linda - I could not have a more supportive group to have my back and I love you all dearly...you crazy, nutty group of gals! LOL

Monday, January 26, 2015

Week 3 - DLP 2015

The Week 4 prompt came up on Saturday and I had yet to finish the one from Week 3. The prompt was "The Color Wheel" and the journal prompt was a quote from Georgia O'Keefe. You would think that being someone who likes lots of vibrant colors that this one would be super easy for me. I was stumped! I think my problem was that I was looking at everyone else's posts all week and then could not come up with my original idea. However, being the science geek that I am, I kept thinking "ROYGBIV". You know - red, orange, yellow, green, blue, indigo, violet? As a university student that spectrum was burned into my brain. So finally, last night I gave it a whirl. I started by using black gesso for my background. Then I decided I would literally put the spectrum down with my acrylic paints. I smeared each color on with my fingers as I didn't want them to be perfect lines. I then used some letter stamps to put the quote down. The next step was to put glitter paste around the edges. I was happy with the lettering (and numbering of the days of the week) and walked away thinking I was done. This morning I was looking at it and all the clean black just seemed TOO clean. I took out my acrylics again and edged a cap with the different colors and randomly put circles down. NOW I am happy with it. I will put what happened on the days of the week a bit later. So here is my 2-page spread for Week 3:

Monday, January 19, 2015

Week 2 of DLP 2015

On Friday night I was fortunate enough to get together with my friend , Karin, and her sister-in-law to get a bit crafty. I was dying to get to the Week 2 prompt from The Documented Life Project 2015 as I want to stay as up-to-date as I can. The art challenge was gesso and the journal prompt was "The beginning is always today" by Mary Shelley.

I decided to be quite literal and use the quote directly. It seemed kind of perfect because Monday, January 12th was my first day back to working out. I took a circuit training class and man, did it ever kick my butt! I was sore and walking around like an old woman both Tuesday and Wednesday, but would not have erased that for the world. It felt great knowing I had started up again! But I digress...

Using gesso in art journaling is not much of a stretch for me as I have both white and black gesso that I tend to use a LOT. I decided to start my page by using a stencil to put some white gesso down before I started adding color (so that I would have paler areas). I then used my Dylusions sprays in 3 different green hues to create my base. Once that was done I used some letter masks to put the quote down and painted over with my black gesso:
Once I had all the black gesso done, I used a strip of washi tape down where the light stenciled area ends on the right. I then used a white pen to mark of even rectangles for each of my days of the week and stamped them in (I will add what took place on those days later with another stamp set). I didn't want too stark a contrast where the quote was, so decided to use a large stamp I have with wording on it and stamp through the black areas with white gesso. Then I watered down some orange acrylic paint and splattered it everywhere. This is the final product:
Another week done and I am enjoying having these weekly prompts. The new one that came out on Saturday is about the color wheel. Being someone who LOVES color, I am sure I will have fun with it.

Sunday, January 4, 2015

New Year - New Name - New Look

My blog was titled "Scrapbooking Wannabe" in the very beginning because that was what I was doing and I was still learning a lot of the ropes. I think that now that I am doing other things as well, having the title just be about scrapbooking was no longer appropriate. It was time to update the look as well. I think I like what I have right now, but reserve the right to change my mind.

So, we are only a few days into 2015 and I decided to start something new. On one of the Mixed Media Facebook pages that I am a part of, there is a woman (Terri Kahrs) who has been posting beautiful pages that were from weekly prompts. She inspired me to take on the Documented Life Project 2015 which is done by Art to the 5th. Without further ado, her is my first layout of 2015...

January's theme is: The Blank Page and How to Face It! The Art Challenge: book pages. The Journal Prompt: Be Your Own Goalkeeper.

I had some ideas pop into my head, but was too busy to sit down and do the pages right away, so I jotted down my ideas. This way I wouldn't lose them:
And here is how it all unfolded...First I started with some Dylusions sprays:
Then I started building my tree with ripped pieces of book pages:
Which then got painted with Dylusions sprays and white gesso:
I then used more book pages to make hearts and colored them with more sprays. Once I adhered them in place, I stamped white snowflakes and added white opaque flakes on the bottom. I then splattered white gesso on the page and added some sparkle with glitter paste (something I LOVE to use). The last pieces I added were my goals for the year, which I printed on regular paper and hung at the bottom of the strings of hearts.
I'm pretty pleased with my first foray into the DLP world. Who knows where it will take me as the weekly prompts come!


Saturday, October 11, 2014

More Frames

I am so excited! I finally finished all the frames to hang in my girls' rooms. This weekend I will be branded the best mommy ever ;) They are going to freak out. I love the lavender frames with the glitter paste - a little girl's sparkly dream :)

Sunday, September 14, 2014

Frames

I went to Michaels a couple of weeks ago with a 50% coupon and bought a pack of 12 mini posters from the movie Frozen (which, of course, my girls LOVE). My plan was to put them on the walls in both my girls' rooms (6 posters each) since we are still organizing and decorating our new house. I then decided that maybe I should frame the pictures. Then I thought, "Hey! Why don't I see what the dollar store has!". I ended up buying 4 frames that looked like this:
Kind of ugly, right? But they were $1.50 and I knew I could transform them. So, I painted them with some lavender acrylic paint, added some glitter paste and this is what they look like with the posters in them:


The pictures do not show just how sparkly they are. The girls are going to flip out when they see them on their walls! I have 4 done and 8 to go, but after seeing what they look like, I am looking forward to having them all done. It was kind of fun doing something crafty for the first time in this new house of ours (we have been here a month and a half). Just wait until my crafty room is organized and ready to be used!

Monday, June 2, 2014

Liebster Award - Discover New Blogs

Well now, I was nominated by Denise over at Mamarazzi Scraps and am happy I got mentioned as one of her 10 blogs to check out (I am honored!). So, thank you, Denise :)

This is something new to me. I had never heard of this award and now that I know about it, I am glad I have heard about it. Basically, it is given to up and coming bloggers who have less than 200 followers. It is a way to bring attention to these blogs and build the blogging community. Liebster is German and means sweetest, kindest, nicest, dearest, beloved, lovely, kind, pleasant, valued, cute, endearing, and welcome. Here are the rules:

1. Thank the blogger who nominates you.
2. Answer the 10 questions she/he asks of you.
3. List 10 random facts about yourself.
4. Nominate 10 bloggers with less than 200 followers.
5. Ask these 10 bloggers 10 questions of your own.
6. Let them know you have mentioned them.

Well now, what can I tell you about me? Here goes nothing:

1. Most people know that I played basketball for MANY years (I am 5'10"), but most people would never guess that my first sport was figure skating. I did it for 5 years, until I realized that my height was not advantageous!
2. I once won a dance contest in Korea at a night club.
3. I have been to the Great Wall of China twice within a year and a half.
4. I LOVE to read and buy purses based on whether or not they can fit a hardcover - lol.
5. If I could live in pajama pants and racerback tops, I would.
6. I was scrapbooking even before it was the thing to do (you should see my albums from the 3 years I lived in Korea).
7. I love music and am always humming or singing something.
8. I am super close to my younger brother and can honestly say we tell each other EVERYTHING.
9. I grew up as a tomboy, but am secretly happy that having the husband I have allows me to be girlie once in a while.
10. Nothing is sweeter to my ears than the giggles of my 2 girls when they are playing together!

Now, the questions from Denise:

1. Do you consider scrapping a hobby for yourself, something you do for your family or a combination of the two?  Please explain - I consider it a hobby for myself that also is something my family benefits from. By writing down all the stories, my girls will have all these memories when my husband and I are long gone. They will know that they grew up with a lot of love around them.
2. What style is your home decorated in? I like clean lines, so a lot of angles, but warm colors. I have always been told my spaces are comfortable and "homey".
3. Do you have any other hobbies besides scrapbooking?  If so, what? I have been dabbling in mixed media for almost a year now. I also love to read, so books are constantly passing through my hands.
4. What is your favorite ink? Hmm, it has to be "Vintage Photo" distress ink by Tim Holtz. I love inking edges of things.
5. If you had to choose one color to see for the rest of your life (furniture, clothing, roads, cars, flowers, grass, buildings, all 'stuff' would be that color) what color would you choose? That's a really tough one because on any given day, that can change. I love bright, bold colors (I tend to gravitate to Bo Bunny papers when scrapping). Pastels and neutrals are not really my thing...if I had to choose one color, I guess it would have to be a bright aquamarine.
6. What is one tool you'd never give up? My Cricut!
7. Are you a girly girl or a tomboy? TOMBOY!!!
8. Do you have a go to clothing item or pattern for yourself or your children (overalls, plaid, polka dots, etc)? I love anything with a v-neck because I have broad shoulders (round necklines are not as nice on my and make me look broader).
9. Do you have any allergies (pet, food, environmental)? Cats and rodents.
10.  If you have children, what type of parenting style would you say you have? I am a mother who tries to balance being the authoritative figure with also being fun and allowing my kids to try things on their own. They know the rules, but also know they are allowed to expand their horizons. So far, so good!

So here are some blogs to check out:


And here are my 10 questions:

1. What made you start blogging?
2. If you could live anywhere else other than where you are now, where would it be?
3. What is your most prized possession?
4. What is your favorite song?
5. Where is the furthest you have traveled?
6. Are you married? How many years?
7. How would your friends describe you in one word?
8. Vanilla or chocolate?
9. What is your dream job?
10. If you had to do one cardio class every single day, what would it be?

Okay, that's it for me! I hope some of those questions were original. I am excited to see what kinds of answers they bring :)


A Bit of Canadiana

In late April my grandmother passed away. We all made plans to get to New Brunswick to her hometown, Caraquet. My brother, my dad and I drove the 12 hours from Montreal to get there (after they flew up from Florida). As we were driving on the long stretch across New Brunswick, I saw a big maple leaf and started excitedly saying, "we need to turn back and take some pictures at that maple leaf!". We stopped just after it to have a bio break and get some food and drinks at Tim Horton's. Dad and Jay agreed that it might be fun to take those pics, so we made a quick stop. This layout is of those pictures:
I just got my hands on the new Bo Bunny papers from Lemonade Stand and found these papers that I thought would be perfect as the background to my pictures. I also used the Go Canada! cartridge from Cricut to cut out the titles (which I outlined in white and black pens). Now, keep in mind that these pictures were in late April - do you see the snow in the background?! Crazy! It was quite cold, but I refused to take the pictures in my coat (I know, I am a bit stubborn about the cold). Anyways, these were so much fun to take.

Now for some details about the layout: the left side is based on a Midweek Mojo at Scrapbook Steals (Daisy #6). Because of the number of pictures I had, I adjusted it to be a double layout. The space above the title for New Brunswick will eventually get some journaling on it, but this layout is pretty much done, otherwise.

I love the simplicity of this and love how Canadian it is. I am proud that I am Canadian and am still thrilled I spotted that maple leaf as we were driving by :)

Wednesday, May 21, 2014

Distress Paints

Tonight I went to an art journal class and we were working with Distress paints. I had a lot of fun putting together some really bright colors and using water to move them around. Once I had the background, I decided that maybe it needed to be softened up a bit (I know - me? softening up colors?). I used some white distress paint to make some faded circles, which I really liked. I made a sun with bristol paper, stamps and paint (and then layered some glitter paste on it). I took a stamp to add a saying to the page. Then I felt like I needed to use the "dead" space in some of the circles - faces! I used a stencil of different faces to fill 3 of the orbs. Then I added some glass bead gel to a few circles, did some stamping around the edges and this is the final piece:
I love it! Bright and happy colors - that's me :)

Sunday, May 11, 2014

Happy Mother's Day!

The first thing I have to do is wish all the mothers out there a very Happy Mother's Day - especially my own! May you all have a lovely day and be showered with lots of love.

On my Mother's Day weekend, I got to go cropping. I took my 5 year-old with me for a few hours (she painted 2 canvases and did a collage on a third). Once I brought her home for her nap and returned, I got down to business ;)

I started out with this layout. The pictures may seem familiar because one of them was on another recent one I posted (the fairy princess page), but these are the pictures of my youngest and I had a slightly different spin on the look. Erica's page was light and airy because she tends to be my more dainty girl, while Alexis is not a girl you would use the word "dainty" for - lol. So, here is my page "Lady (?) Alexis":
All the papers are from the line Daydream by First Edition Papers (a pad I picked up a few years ago). I wanted the soft colors of the dresses to be picked up, but needed a bit of dark to ground it all and make it fit the personality of my youngest. I was having a hard time figuring out how to split the 5 pictures over 2 pages, so to keep it feeling balance, I split the middle picture between the girls (really easy to do since they had a slight gap between them). I then fussy cut some flowers from one of the patterned papers in the line and backed them with the darker patterned paper to allow them to stand out against the soft colors. Thickers for the title finished it off and a bit of journaling in the corner. I love these pictures because they really show what Alexis is like. A strong character? You don't know the half of it - lol.

I then decided to pull out some selfies I did with Erica. She came up to me one day and just asked if we could take some pictures while making funny faces. I was more than happy to oblige because the giggles that came out of it made my cheeks hurt! She comes by her silliness honestly:
So, it has been a while since I dove into some of my My Mind's Eye line The Sweetest Thing (tangerine). I wanted something fun and bold because these pictures are pure goofiness. I kept within the same colors so that the bold patterns did not compete with each other or detract from the pictures. I used my Cricut to cut the letters for the title, using the Storybook font. I also used some of the embellishments in the kit for some dimension (I even put some Stickles in the button holes for some subtle sparkle):

I used Thickers to make an arrow to point out the choice of "silly", since that was the ones I wanted to highlight:

Then I managed to get a third layout done. I took Erica to her first "Mom & Me" crop back in January at Scrapbook Centrale. I used the Glam Gal papers from DCWV and some black cardstock to make the papers pop. Some magenta colored Thickers for the title and it was done in no time at all (it literally came together within 20-30 minutes):
I also started a birthday card for a colleague, but it is not finished (I need one more item before I post it). I then decided I wanted to make something decorative for a shelf or mantel. I have seen lots of posts of banners and things with the seasons, so I decided to make something for spring and summer:


These will be the flip side of each other. I will also look for some papers to use to do this for autumn and winter (all 6-letter words). I think it will be nice to use these throughout the year as decorations. I plan to use chipboard or cardboard behind the letters to give them a stiffer back. Then I will probably make an accordion with them either using ribbon or hoops. Once I finish them, I will post them.

Not bad for about 5 hours worth of time, eh? I am pleased with how productive I was yesterday :)

Saturday, May 3, 2014

And I am Rock Star Rose!

I just finished the last layout of the Rose series! Woo hoo! Sketch #10 from Scrapbook Steals inspired this:
These are some pictures I took at an all-day crop a couple of months ago. I, unfortunately, did not partake in the crop, but stopped by with the girls to say hi to everyone. Alexis is my less social daughter, but she LOVES my friend, Karin. Here she was looking through Karin's supplies and just enjoying hanging around with her.

Being a Bo Bunny fan, I did the whole layout with just their papers and embellishments. I love how vibrant these colors are and am happy that there were some light spaces in the pictures to offset that. I really like how this turned out!

I also did a layout using Daisy #1:
I used papers from different lines (Crate Paper, America Crafts and MME). I used the flower garland sticker from Bo Bunny and then some Thickers (and stamping) for the title. These pictures male me smile because they are of my girls and their 2 cousins all piled in a box together. This is much more muted and subtle (not something I do often). I am really happy with how this turned out as well.

And the last thing I made tonight:
A birthday card for someone I know who has a sarcastic sense of humor. Again, I used Bo Bunny papers. The stamp is from the Dylusions line with Dyan Reavely. Love that saying! It makes me giggle.

So there you have it! Another productive Friday night!

Wednesday, April 16, 2014

Always Radiate Sunshine

Here is an 8x10 canvas that I finished this week. I started it with black gesso and then used acrylic paints to layer over it (using a stencil). I then used another stencil to do the sun in the upper left corner. After that I used yet another stencil to do the broken up circles everywhere. Added some other metallic colors in lavender and turquoise and then added glitter paste (I love that stuff). Glass bead gel makes up the center of the sun (such cool texture). Then once I had all the layers done I figured I needed a saying to lighten the dark area:
I looked up sayings about sunshine because I wanted something positive as the message and here"s what I ended up choosing:
I then outlined the letters with a white pen to make it stand out a bit and to make it a bit "messier". This will go into a pile that I am starting for next December at work when they have employees sell their crafts during the lunch hour throughout the month leading up to Christmas. We'll see how many I can get done and how well I do with the sales. Only time will tell...